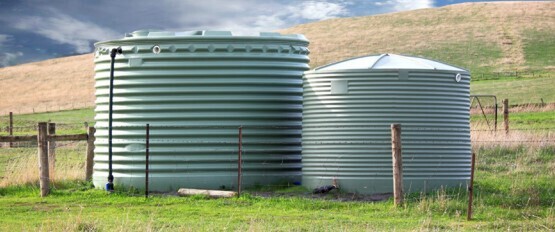
Tank & Overflow Installation to Harvest Rainwater
A water tank is a crucial component of any household or property. It helps in collecting rainwater and managing overflowing water effectively. In this blog post, we'll be discussing the process of installing a water tank and the benefits of having a tank overflow system in place.
Step 1: Cut a hole into the top of the tank
The first step in installing a tank is to cut a hole into the top of the tank. The hole should be a little lower than the inlet pipe and must be large enough to accommodate the size of the pipe.
Step 2: Seal the hole and pipe with a Uniseal
Once the hole is cut, the next step is to seal it and the pipe using a Uniseal. Uniseals are suitable for both curved and flat surfaces and come in a range of sizes and types to suit different tanks and stormwater pipes.
Step 3: Run the pipe to the ground
After sealing the hole, the next step is to run the pipe to the ground. Ensure that the pipe is installed at a suitable angle to prevent any blockages.
Step 4: Discharge to a suitable point
Finally, discharge the water to a suitable point at least 3m away from the base of the tank. This will help prevent any contamination of the tank water and ensure that the tank overflow system is working effectively.
Benefits of a Tank Overflow System
Having a tank overflow system in place has several benefits, including:
Effective management of overflowing water
Preventing contamination of tank water
Protecting the foundation of the property from water damage
In conclusion, installing a tank and a tank overflow system is a simple and straightforward process. By following these steps, you can ensure that your water tank is installed correctly and is working effectively. If you have any questions or concerns, do not hesitate to contact a professional plumber for assistance.


